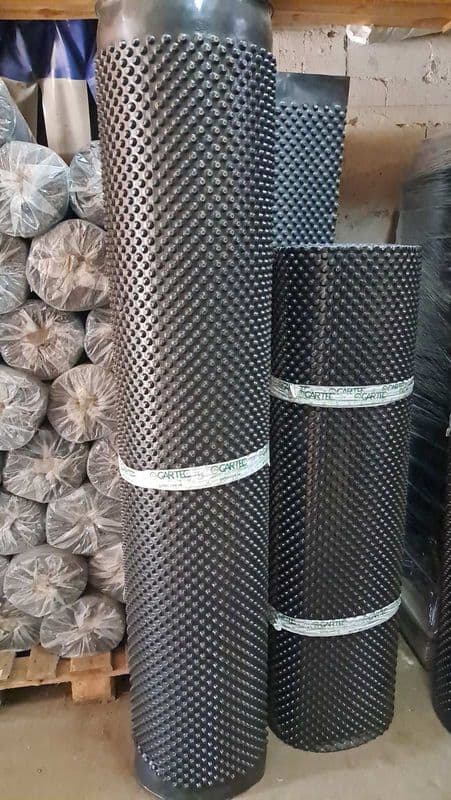
Akvashchyt dimpled membrane
2 500 ₴
per roll
from 2 200 ₴ for 50+ pcs
What dimpled membrane is used for, which way up to lay it on a foundation and under perimeter paving, and how to fix it without damaging the waterproofing. Step-by-step installation and common mistakes.
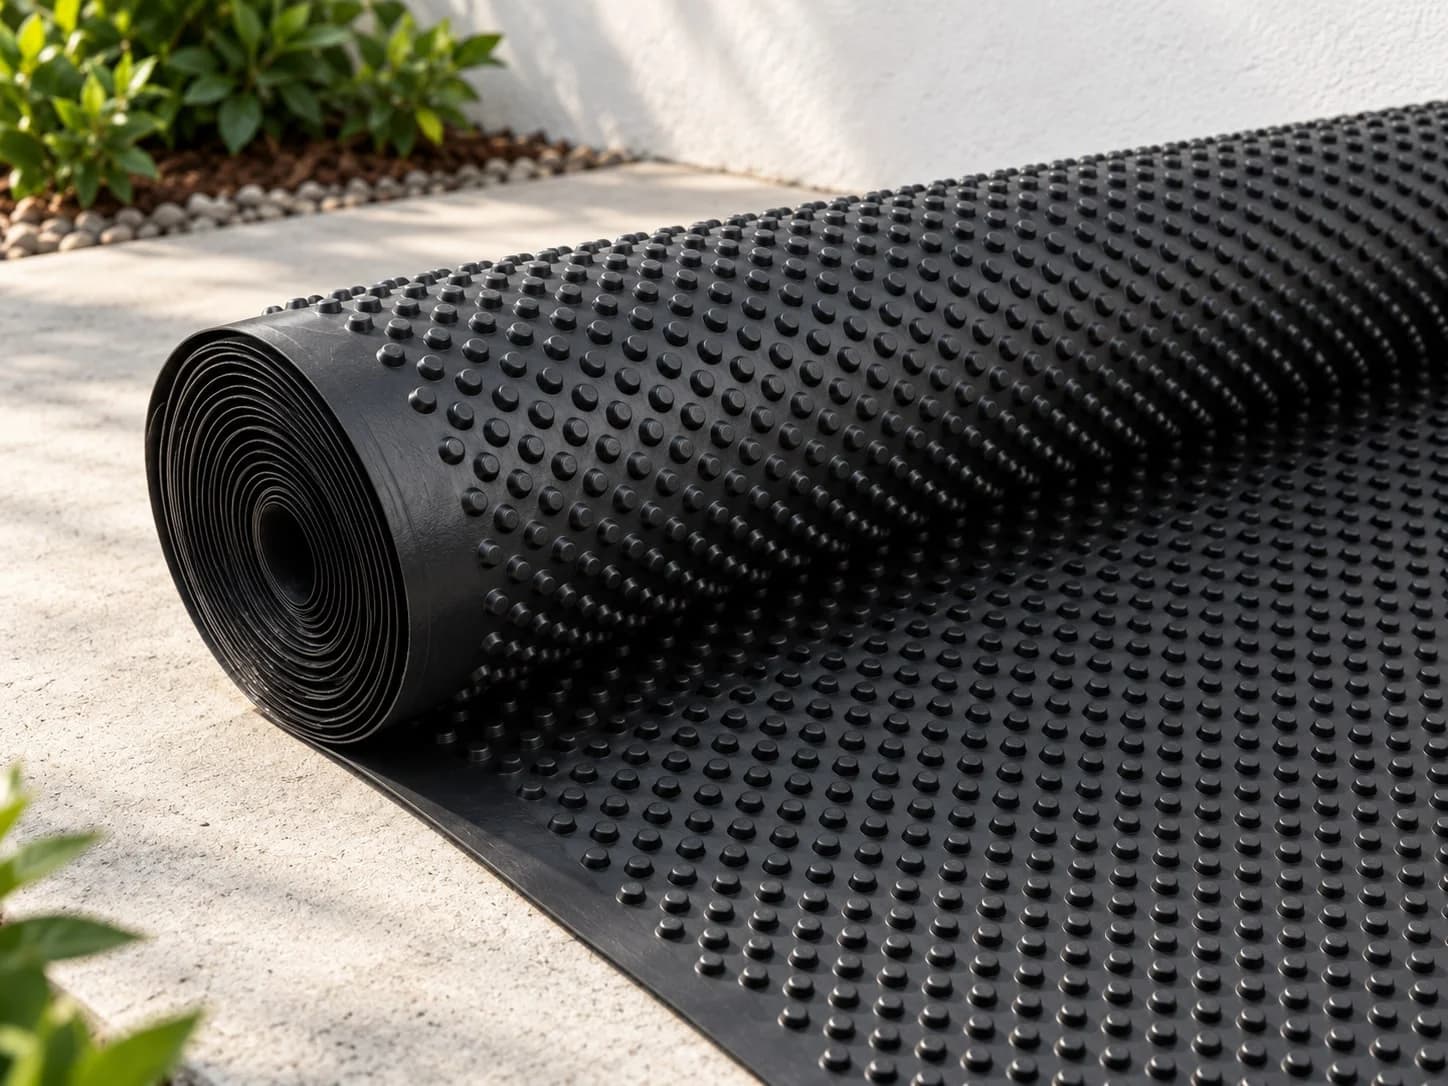
Waterproofing a foundation is only half the job. The waterproofing also has to be protected from stones in the backfill, soil pressure and constant moisture. That is exactly what dimpled (drainage) membrane is for. We explain why you need it, which way up to lay it and how to install it properly on a foundation and under perimeter paving.
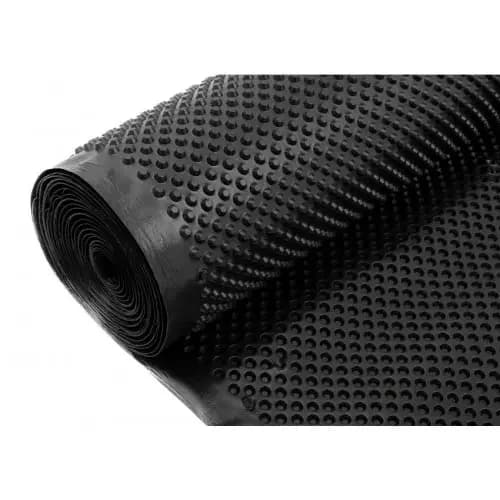
It is a polymer sheet supplied in rolls, with rows of pressed-out dimples. The dimples create an air gap between the membrane and the surface, through which water drains away and the structure can "breathe", while the sheet itself takes the soil pressure.
The Gartec "Akvashchyt" membrane is polyethylene with a density of 400 g/m², in 2 × 20 m rolls (40 m²). We make 500 and 600 g/m² membranes to order.
This is the most common question, and the answer depends on the job:
| Where it is laid | Which way the dimples face | Why |
|---|---|---|
| Vertically on a foundation, protecting the waterproofing | Dimples towards the wall | The smooth side takes the soil, the gap next to the wall is ventilated |
| Wall drainage with geotextile | Dimples towards the soil, geotextile on the outside | Water runs down the channels, the geotextile keeps them from silting up |
| Under perimeter paving, a path or a screed | Usually dimples facing down | A flat top surface for sand, concrete or paving |
If in doubt, follow the design or consult the builder in charge of the project: the method depends on how the waterproofing and drainage are designed.
Dimpled membrane does not collect water or carry it anywhere by itself; it only provides a path for water to run down the wall. If the soil on the plot is clay or the water table is high, a drainage pipe wrapped in geotextile and bedded in crushed stone is usually laid at the bottom, next to the foundation footing. Water runs down the membrane to the pipe and on to a soakaway or drainage well. On sandy soils, where water drains away quickly, the membrane often serves as a protective layer without separate drainage. Which arrangement to choose is decided by the design or by a builder who knows the soil on your plot.
Work out the area: foundation perimeter × height of the below-ground part. Add an allowance for overlaps and folds at the corners, usually 10–15%. The roll is 2 m wide, so a wall up to 2 m high can easily be covered with a single horizontal strip with no lengthwise joints. For example, a foundation with a 40 m perimeter and a depth of 1.5 m needs a 40 m strip plus the overlap allowance, about 44–46 m, i.e. three 20 m rolls trimmed to height.
It is easier to cut the membrane on a flat area next to the trench rather than in the trench itself. Wear gloves: the edges of the sheet can be sharp after cutting.
The membrane is used in the same way under garden paths: it carries water away from the base and stops it from being washed out.
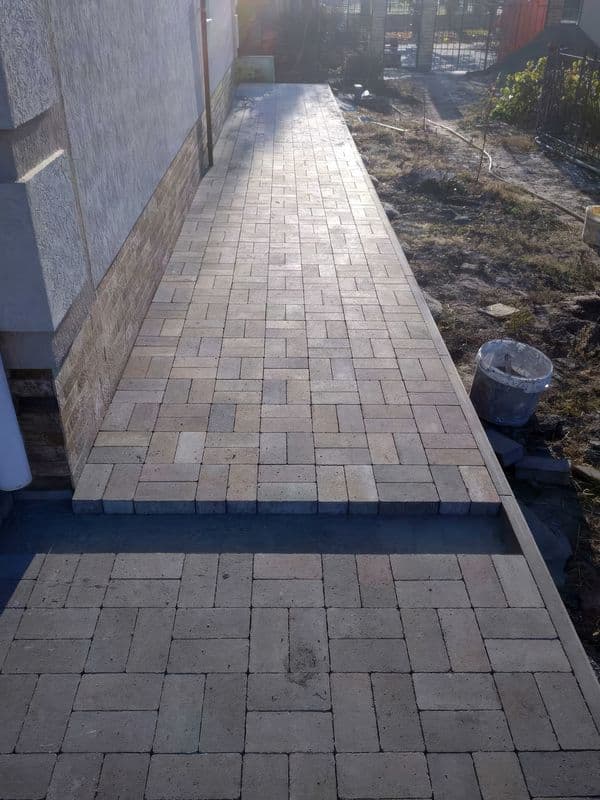
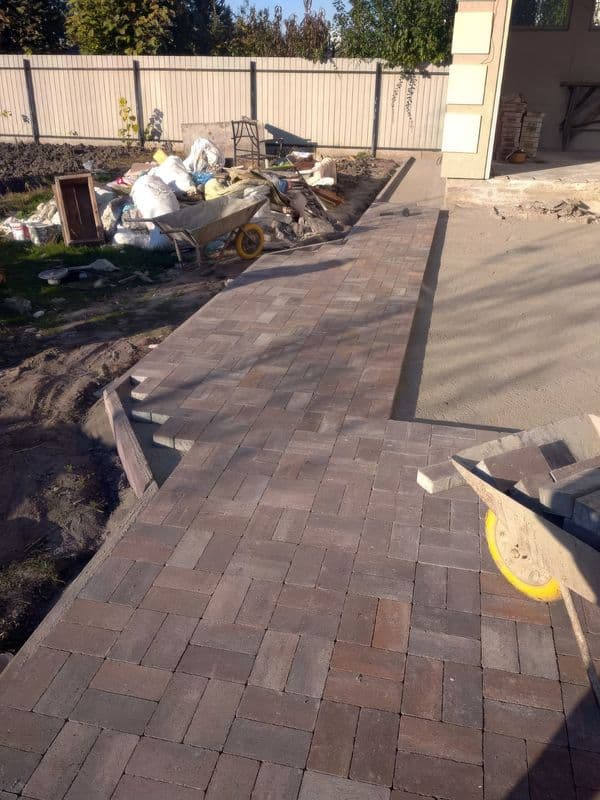
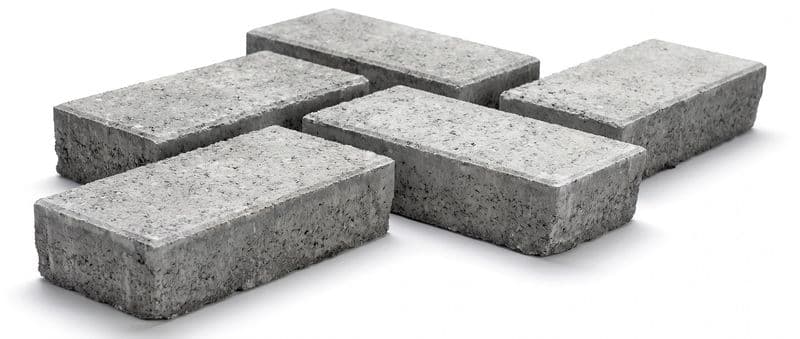
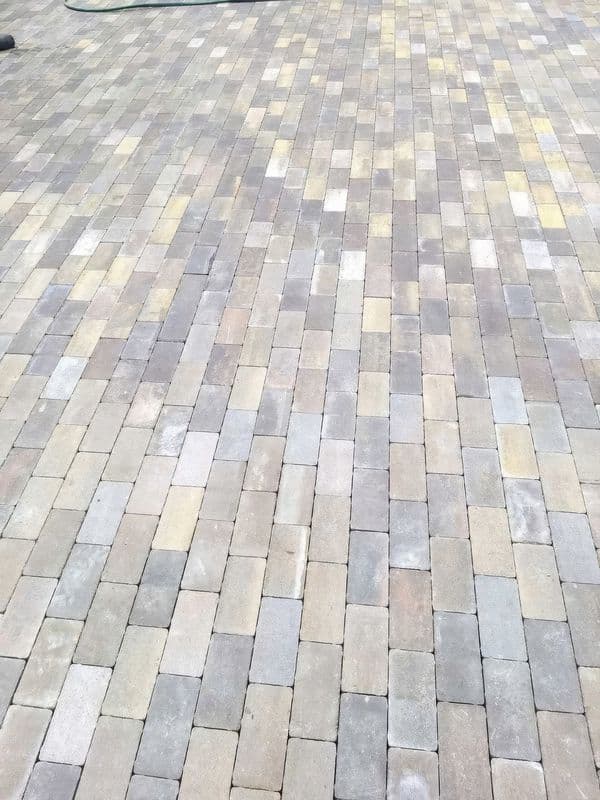
Under garden paths, the membrane carries water away from the base and stops the sand bed from being washed out. The sequence is simple: remove the topsoil to the depth of the path, compact the soil, lay the membrane with overlapped joints, spread and compact the bed, then lay the surface. For example, Brick paving slabs measuring 200 × 100 mm, 40 or 60 mm thick. Edging is set along the sides of the path so that the base and paving do not spread.
The price of Akvashchyt membrane is per roll in the catalogue; from 10 rolls it drops automatically. The cost of installation depends on the area, the depth of the foundation and the amount of earthwork, and is worked out by your contractor. Construction companies get wholesale prices, invoices for businesses and delivery to site: see the wholesale terms.
It protects foundation waterproofing from damage during backfilling, drains water away, spreads soil pressure evenly and is used as a waterproofing layer under perimeter paving and paths.
On a foundation, to protect the waterproofing: usually dimples towards the wall. For wall drainage with geotextile: dimples towards the soil. Under perimeter paving and paths: usually dimples facing down.
With plugs and large washers at the top only, above the backfill level, and the top edge is covered with a termination bar. Below ground level, the backfill holds the sheet in place.
A roll is 2 × 20 m, i.e. 40 m². The density is 400 g/m²; 500 and 600 g/m² are available to order.
What black mulching fabric is used for, whether it lets water through and whether it protects against frost. How to prepare a bed, lay the fabric, pin it down with stakes and plant through it.
Read →How anti-mole mesh works, how deep to lay it and how to leave moles no way in at the joints and around the edges. A step-by-step guide for turf and seeded lawns.
Read →We compare garden edging materials and models: height, top tube, coil length and colour. Find out which edging works best for flower beds, vegetable beds, lawns and paths, and how much you need.
Read →