Anti-mole mesh
3 520 ₴
per roll
from 3 098 ₴ for 50+ pcs
How anti-mole mesh works, how deep to lay it and how to leave moles no way in at the joints and around the edges. A step-by-step guide for turf and seeded lawns.
Molehills can ruin even a perfect lawn within a few weeks. Repellers and traps give unpredictable results, whereas anti-mole mesh is a physical barrier that simply stops the animal from reaching the surface. The key is to lay it properly. Here is how to do it.
Moles dig tunnels underground and push the soil up to the surface, which is how molehills appear on a lawn. Fine mesh is laid under a layer of topsoil: the mole runs into it and cannot dig its way up. The mesh does not harm the animal, but it makes the area inconvenient for it, and the mole usually moves off to look for somewhere else.
Grass roots grow through the mesh openings without any trouble, so the mesh does not affect the lawn.
What else garden owners try and how these methods differ:
Mesh needs no batteries and no maintenance: once laid under the lawn, it works all the time. Its only drawback is that it can only be laid when the lawn is being made. So if you are just planning a lawn, this is the best moment to think about protection.
What to look for:
Anti-mole mesh is black, so even if it shows through somewhere, it is invisible against the soil.
Work out the area of the lawn and add an allowance for overlaps, usually 10–15%. A 200 m² lawn needs about 220–230 m² of mesh, i.e. five to six 45 m² rolls. If you plan to turn the mesh down vertically around the edges (more on this below), add a strip as long as the perimeter.
It is easier with two people: one unrolls the mesh while the other fixes the edge straight away so it does not roll back up.
The mesh is laid while the lawn is being prepared, just before laying turf or sowing grass seed. You cannot slip mesh under an existing lawn: you would have to lift the turf, lay the mesh and put the turf back or reseed. So the best time is when you are making a lawn from scratch or completely renovating it.
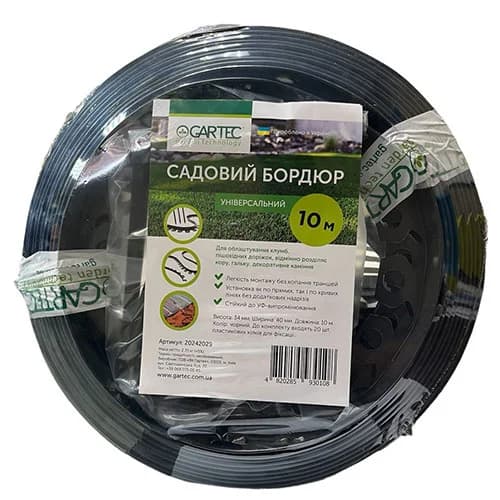
A neat lawn edge is about both looks and protection. The low Universal edging is set flush with the lawn, held in place by stakes and does not get in the way of the lawn mower. It is convenient to install it around the edge at the same time as the mesh. Ready-made solutions for the edge are on the lawn and path edging page.
The mesh is not just for lawns. It is laid at the bottom of raised vegetable beds and flower beds before they are filled with soil, so that moles cannot reach the roots of vegetables and flowers. The principle is the same: a continuous sheet, overlapped joints and the edge turned up the side of the bed. In gardens where moles are a constant problem, protecting only the lawn often drives them into the vegetable beds, so it makes sense to cover both areas at once.
Reviews of anti-mole mesh can be completely contradictory, and the reason is usually not the mesh itself but the way it was laid. When molehills appear on a "protected" lawn, the culprit is almost always unsecured seams, unprotected edges or areas where no mesh was laid at all: under paths, flower beds or next to the fence. If the mesh is continuous, the joints are overlapped and fixed, and the lawn edge is sealed, moles simply have nowhere to come up.
The price is per roll in the plastic mesh catalogue; from 10 rolls it drops automatically. Landscaping companies that lay lawns regularly can use the trade customer account with personal prices.
The mesh is laid on prepared, level soil and covered with a 5 cm layer of soil, after which turf is laid or grass seed is sown.
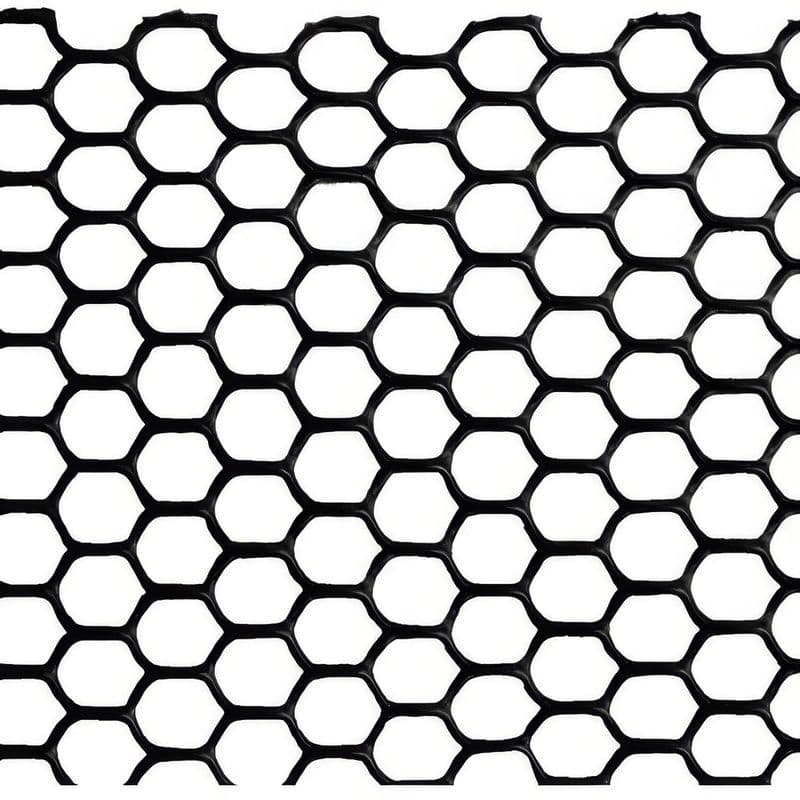
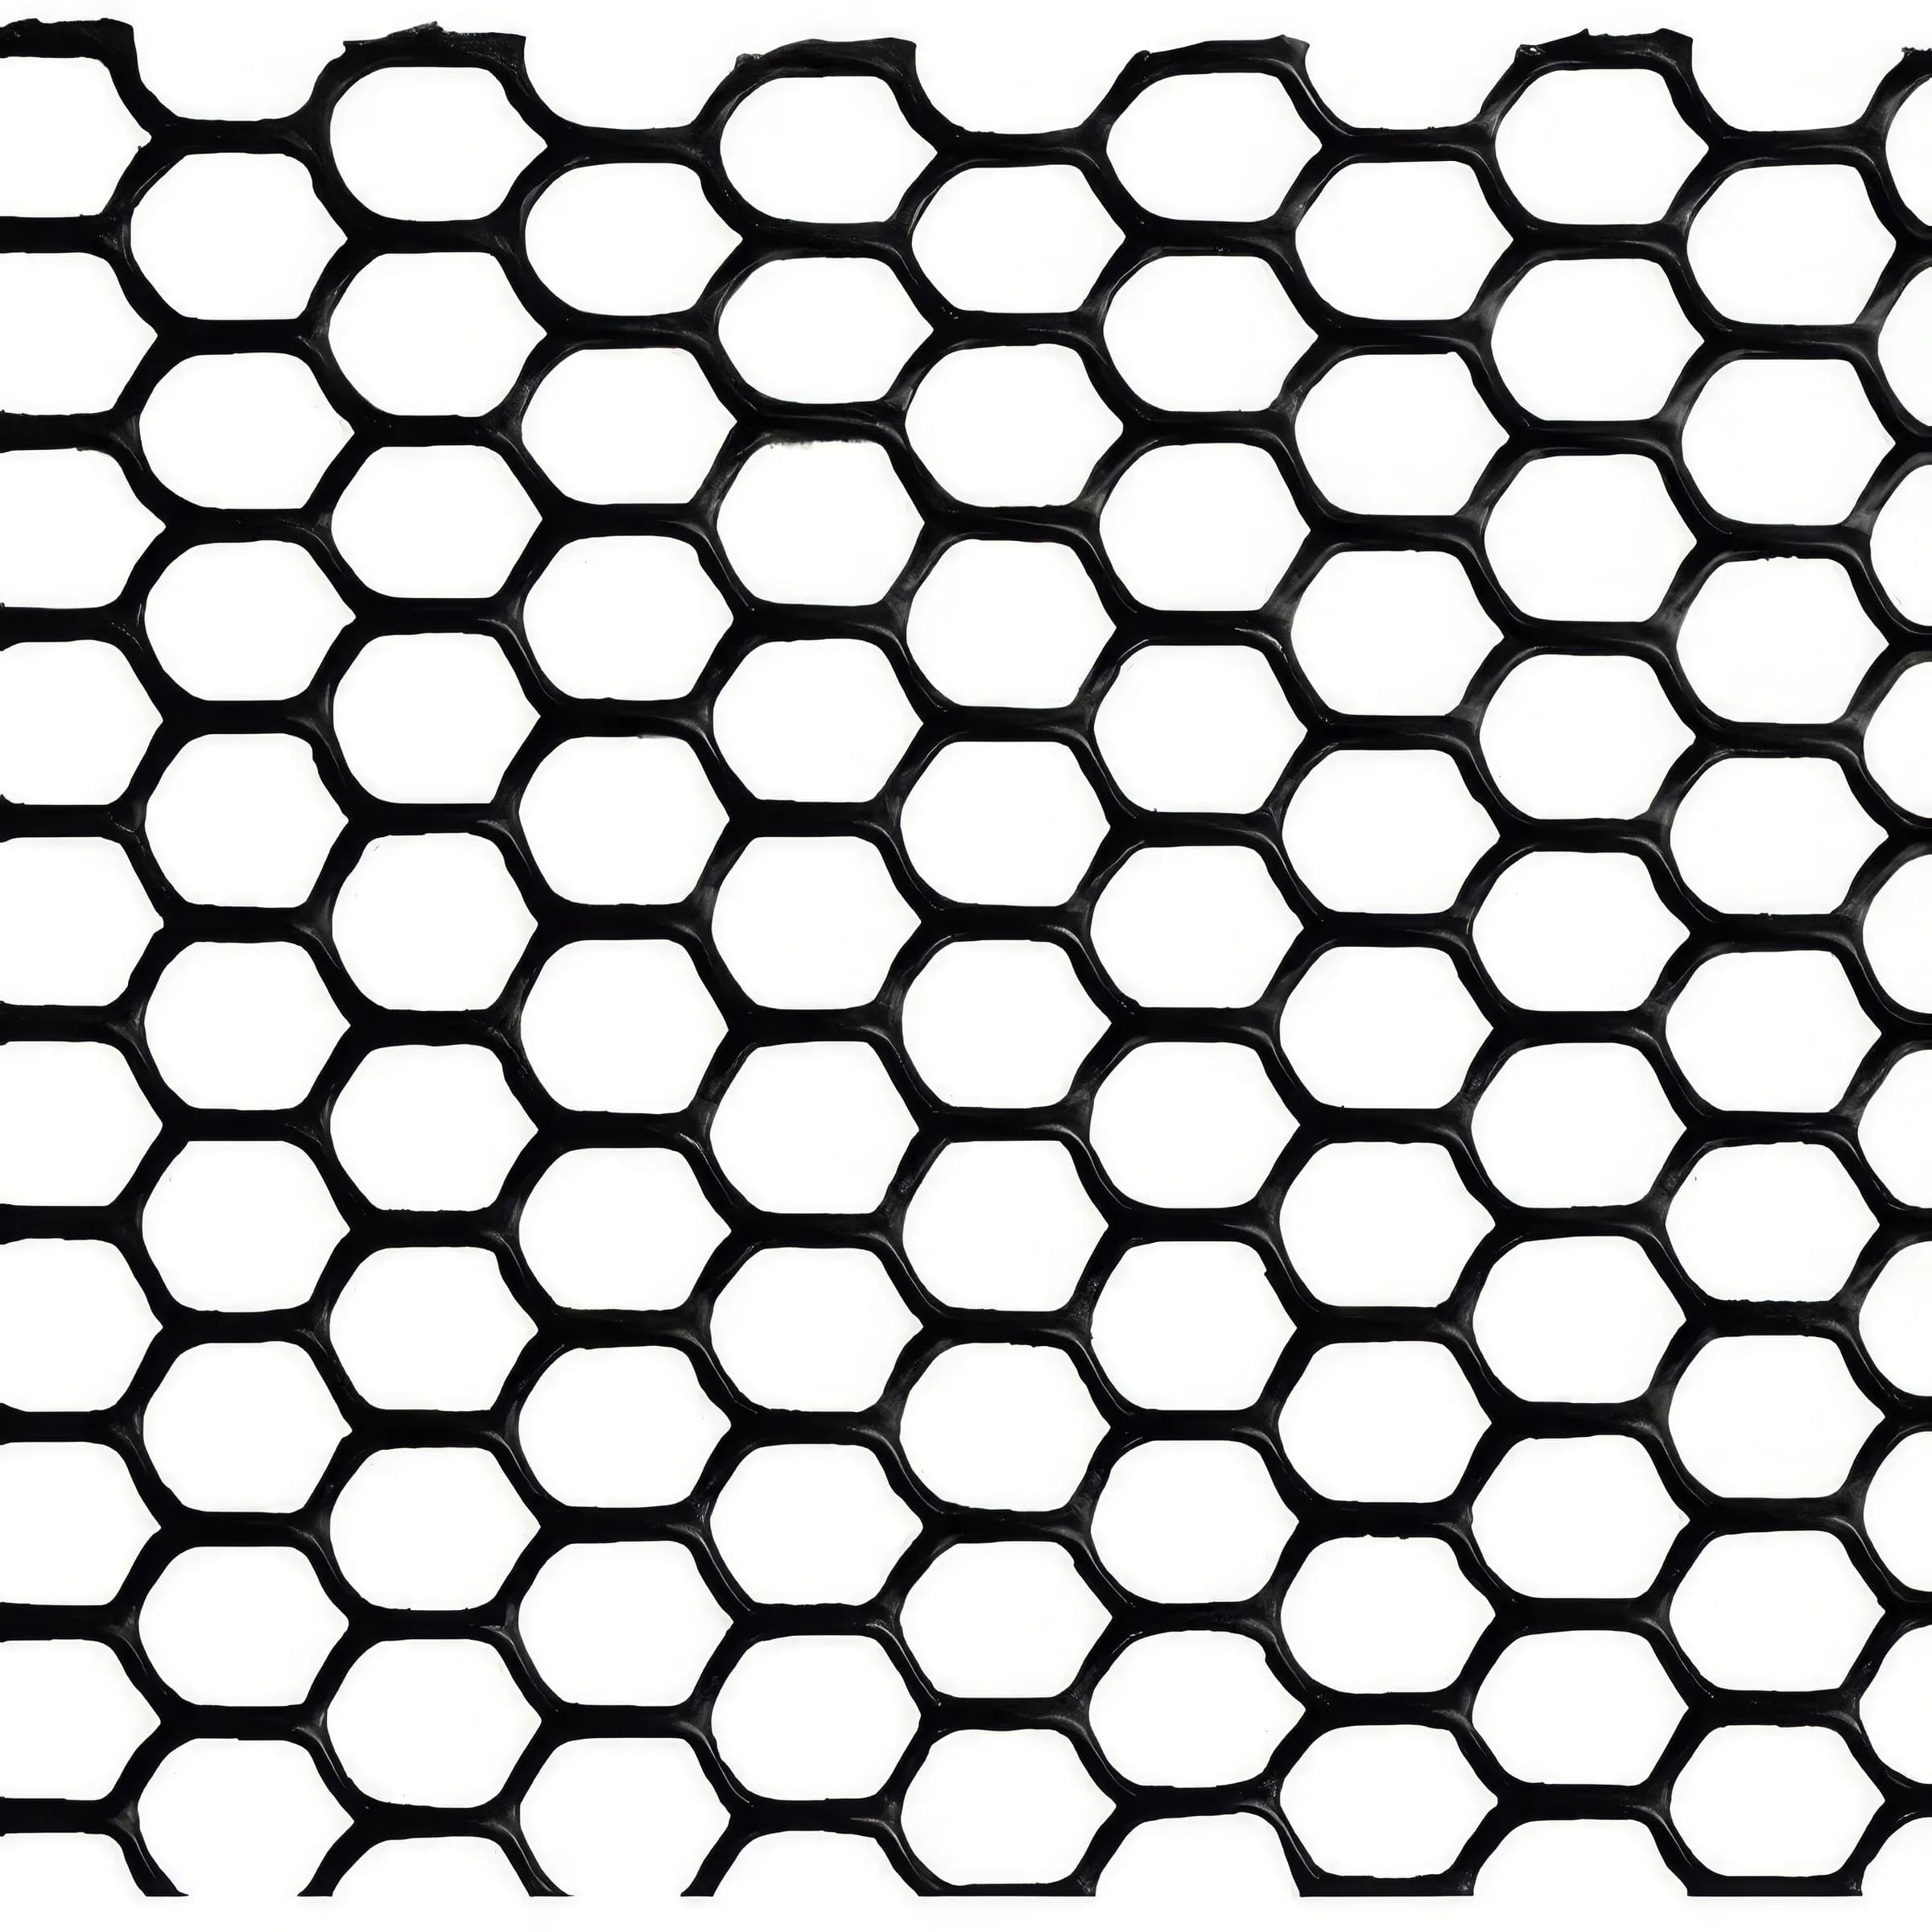
The fine mesh (8×9 mm) stops the mole from digging up to the surface, so no molehills appear and the animal usually leaves the area. Grass roots grow through the mesh.
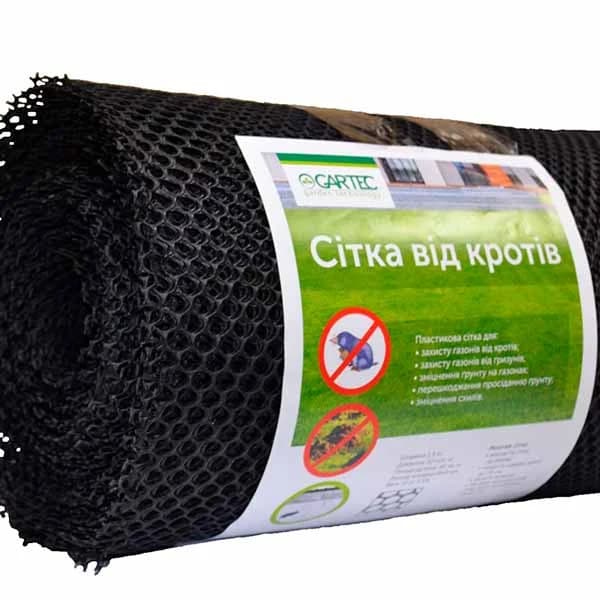
One roll is 1.5 × 30 m, i.e. 45 m². Divide the lawn area by 45 and add an allowance for overlaps, usually 10–15%.
Only by lifting the turf. The mesh is laid before turfing or sowing, so it is best done when making a lawn from scratch.
Plastic mesh with small openings: it does not rust in the soil, is easy to cut and keeps moles out. A wide roll means fewer joints.
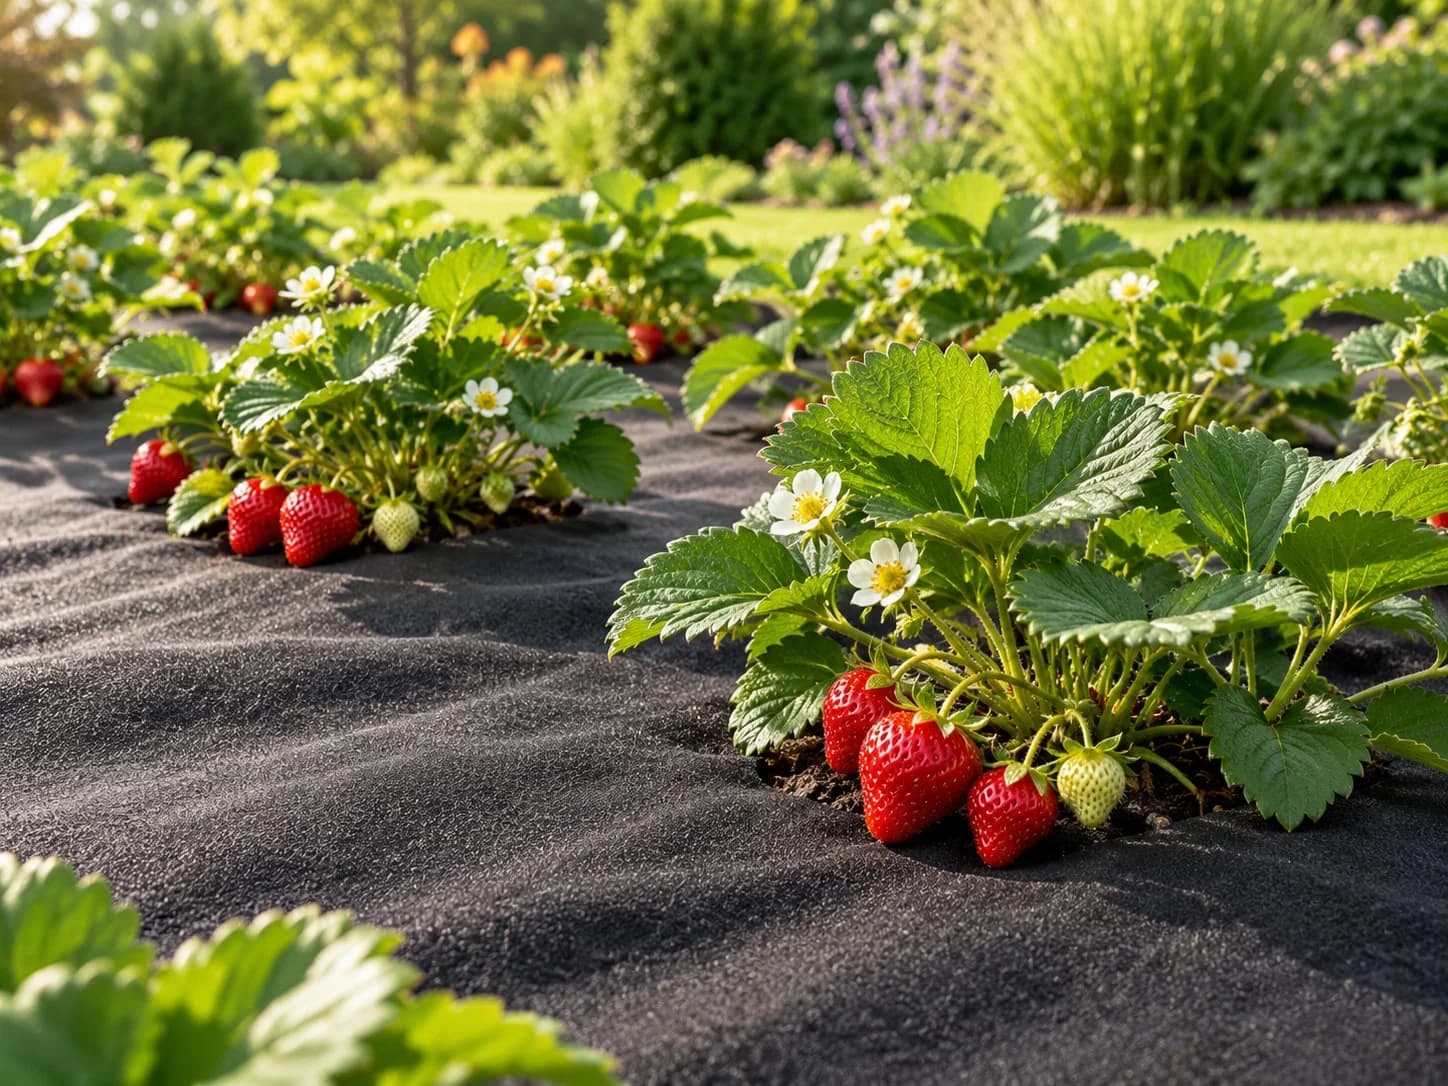
What black mulching fabric is used for, whether it lets water through and whether it protects against frost. How to prepare a bed, lay the fabric, pin it down with stakes and plant through it.
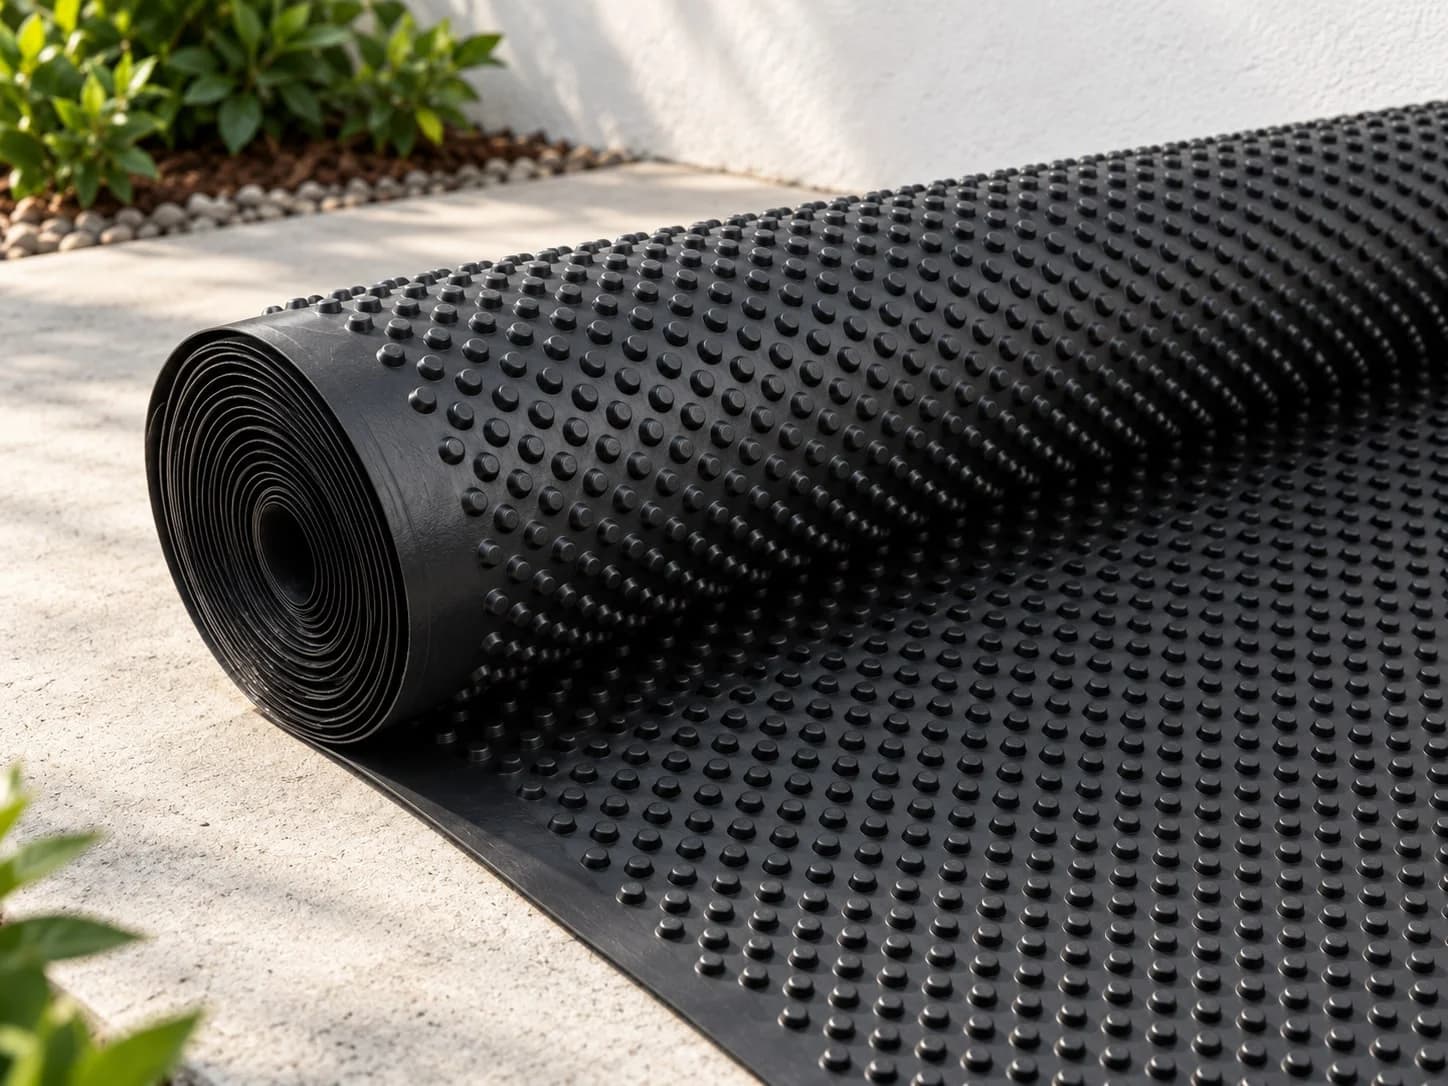
Read →What dimpled membrane is used for, which way up to lay it on a foundation and under perimeter paving, and how to fix it without damaging the waterproofing. Step-by-step installation and common mistakes.
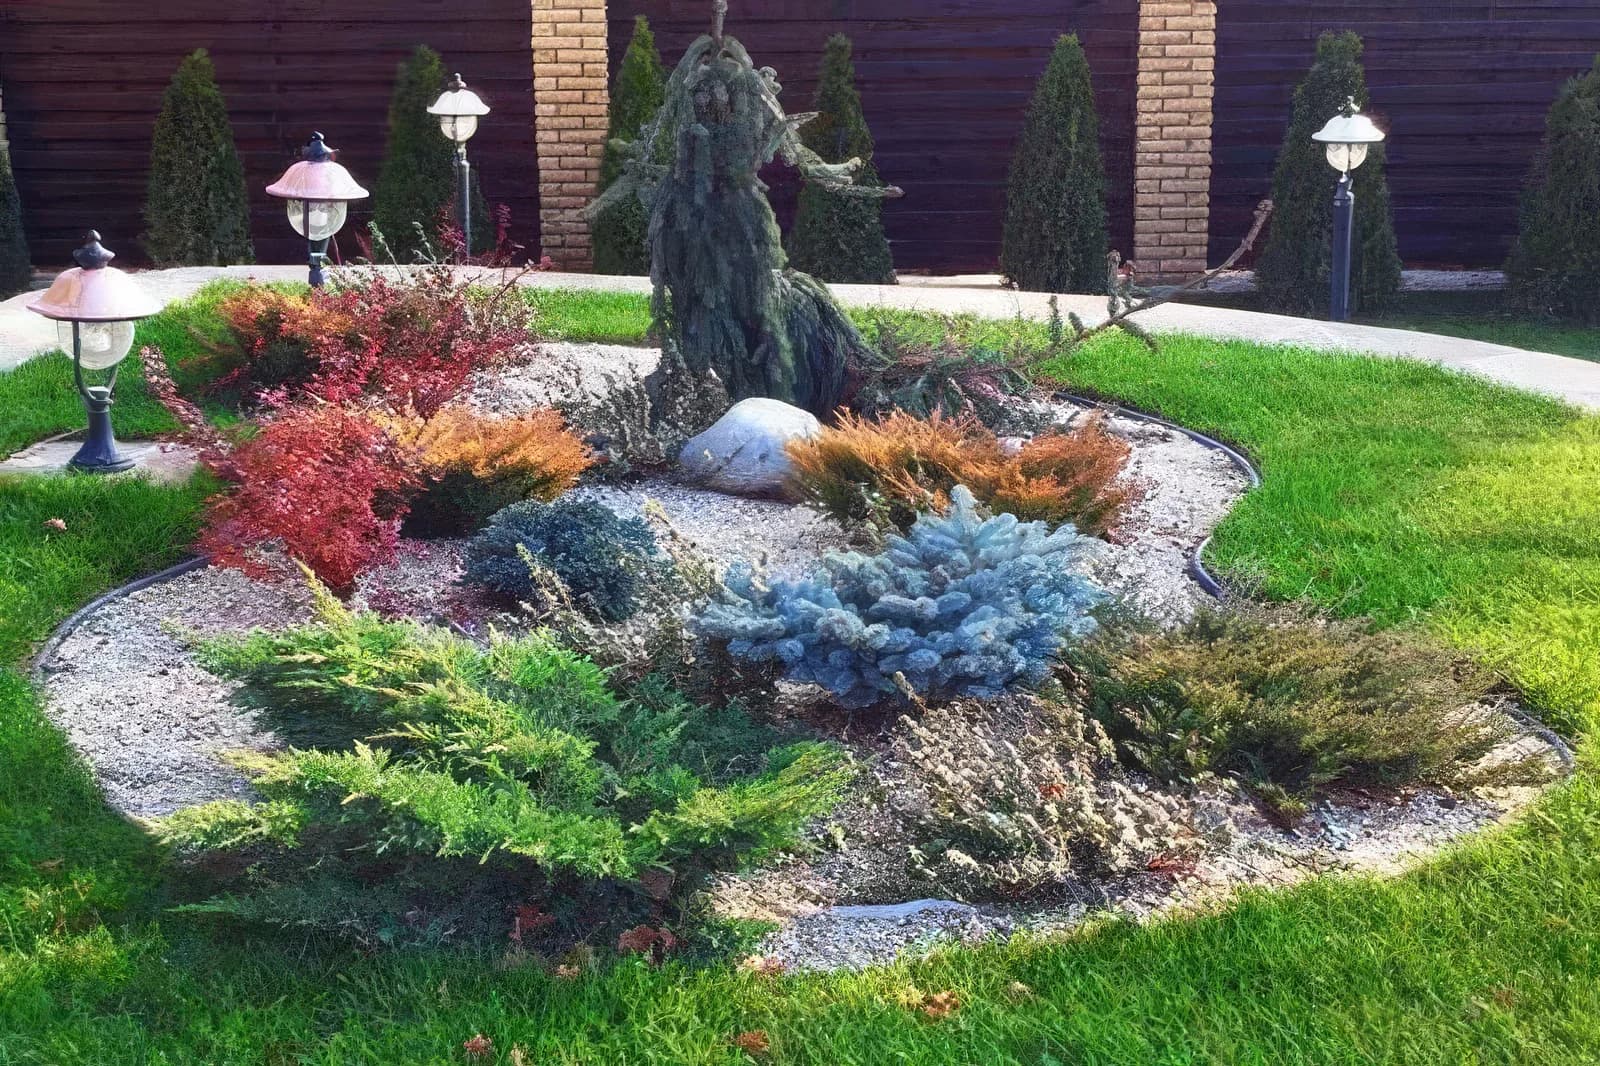
Read →We compare garden edging materials and models: height, top tube, coil length and colour. Find out which edging works best for flower beds, vegetable beds, lawns and paths, and how much you need.
Read →