
How to install garden edging yourself: edging strip and Universal edging with stakes
A step-by-step guide to installing plastic garden edging: how to bury an edging strip with a top tube and how to fix the low Universal edging with stakes. Tools, quantities, trench depth and the mistakes that make the edge shift after winter.
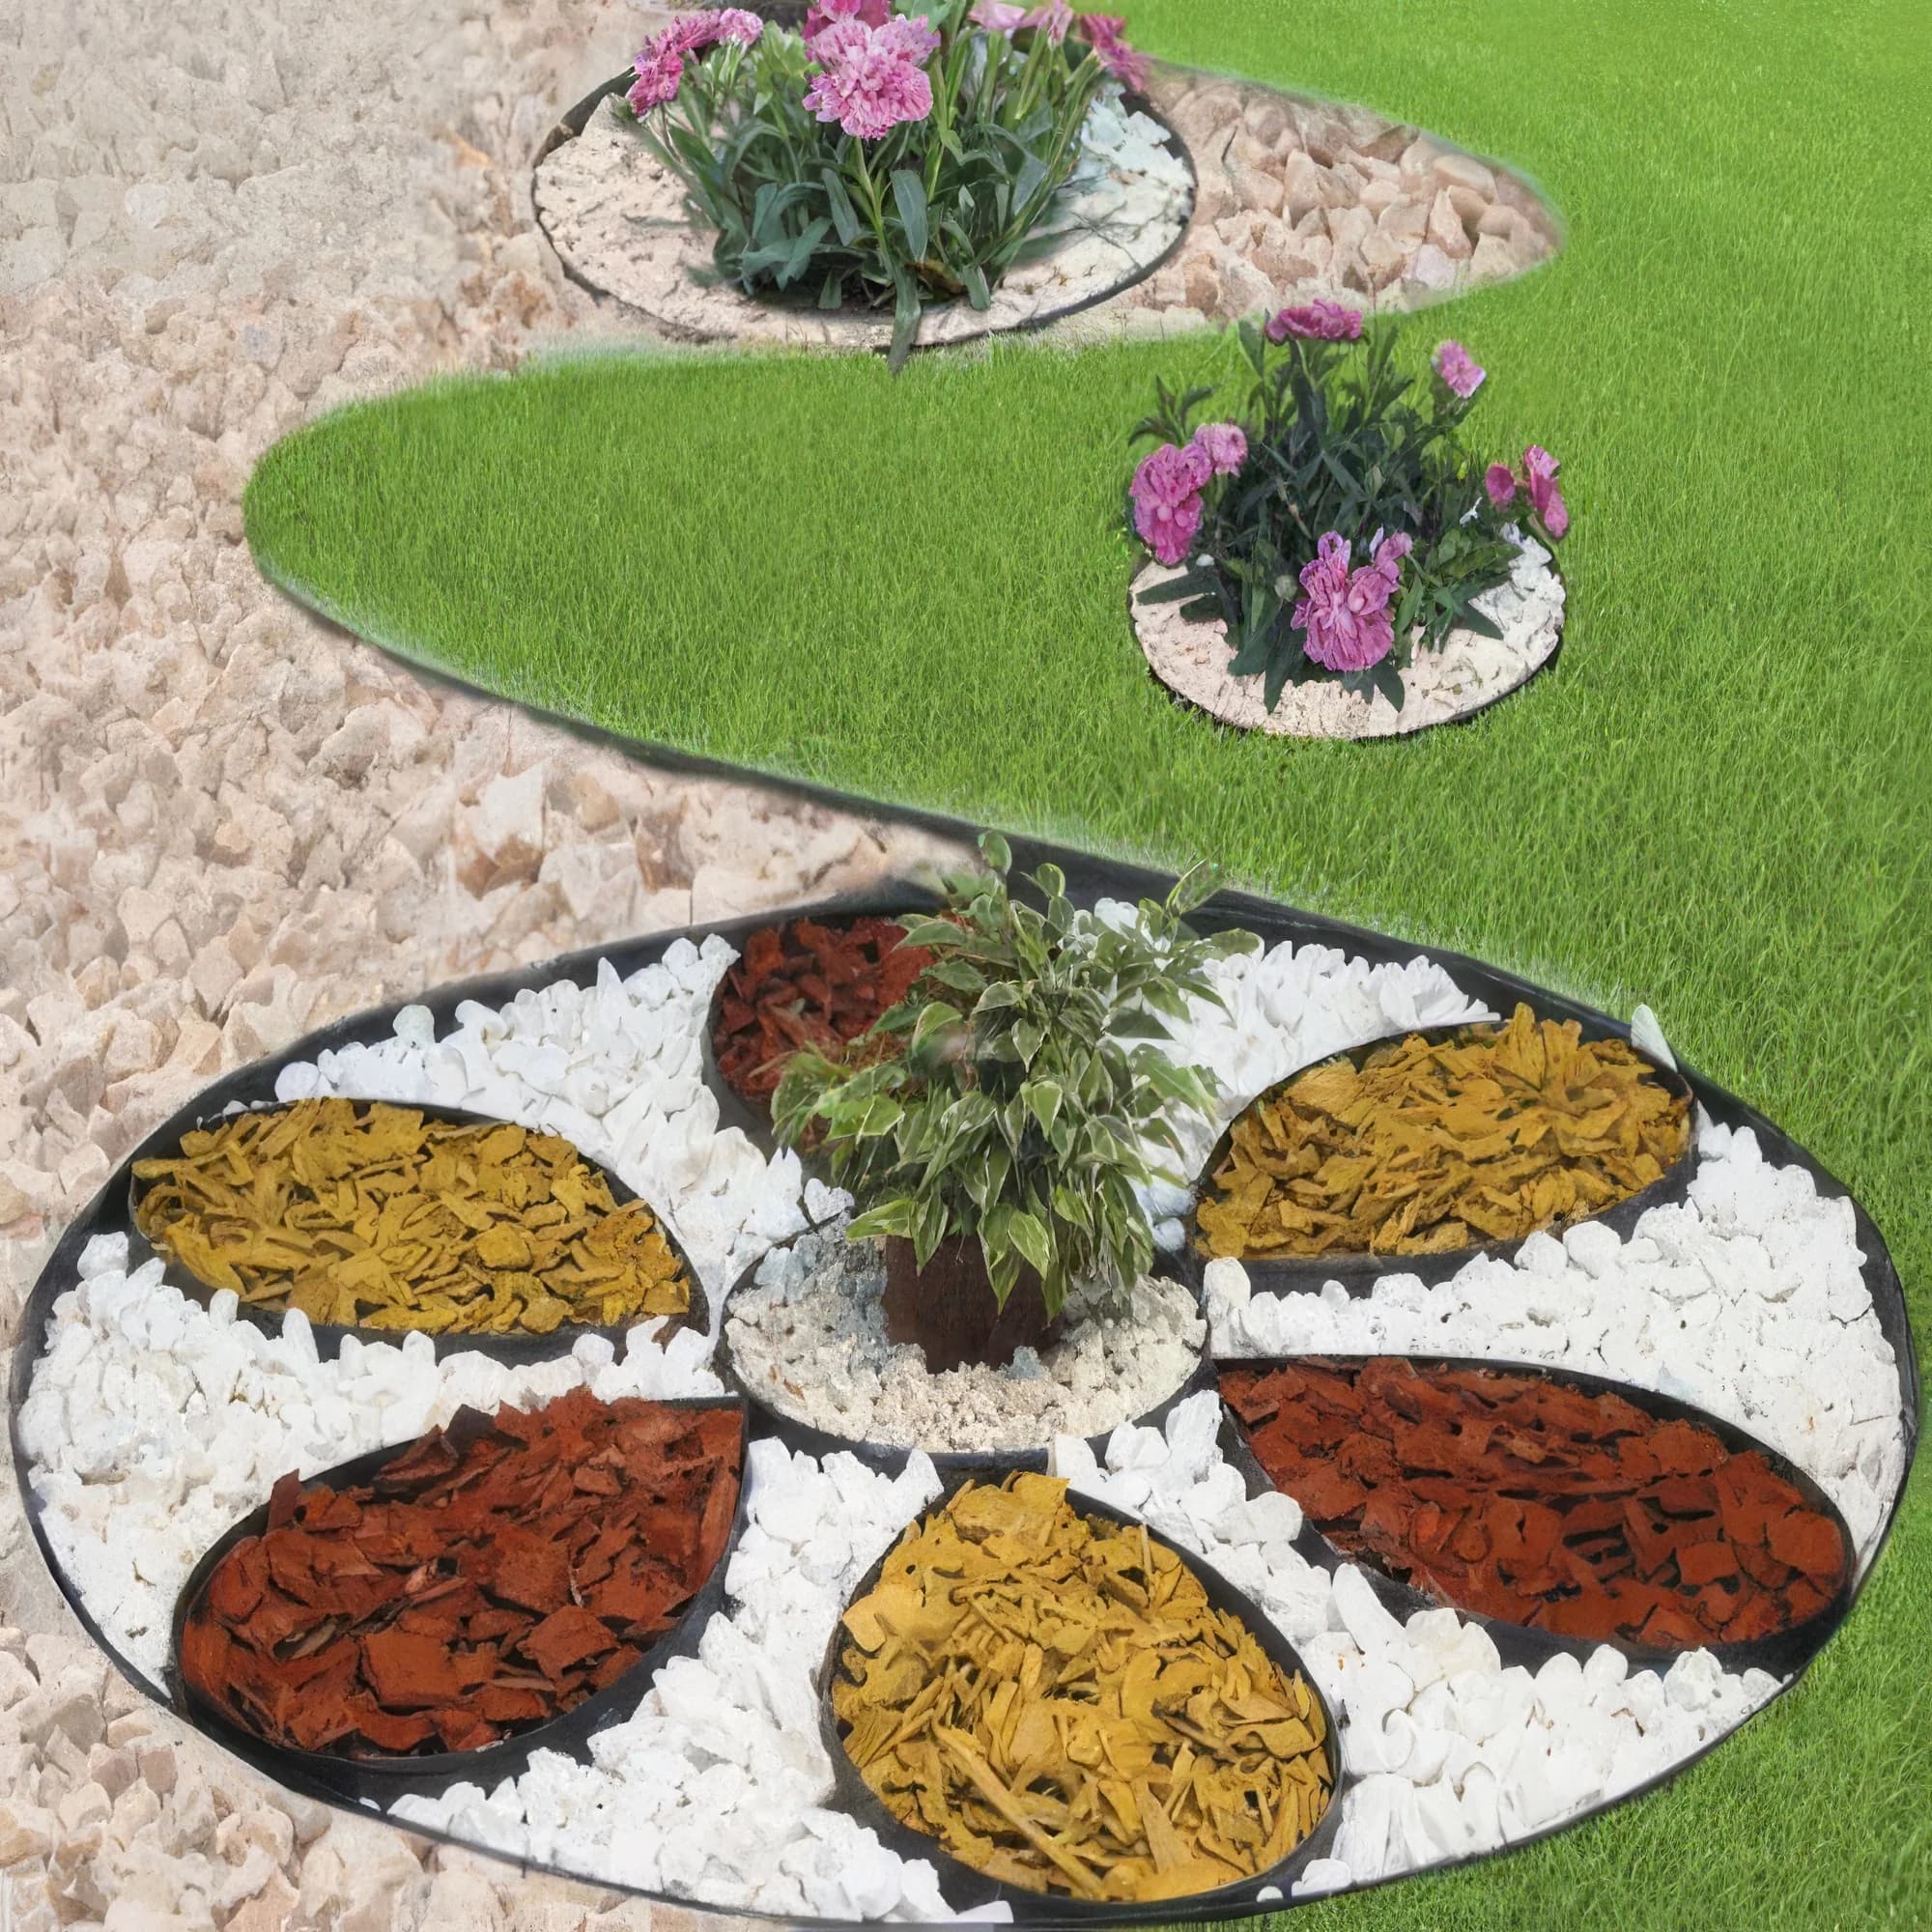
Plastic garden edging is the easiest way to give a flower bed, vegetable bed or lawn a neat edge. No concrete, formwork or machinery is needed: one person with a spade can do the job over a weekend. Below we explain how to install the two types of edging Gartec makes: the edging strip with a top tube and the low Universal edging with stakes.
Two types of edging, two ways to install them
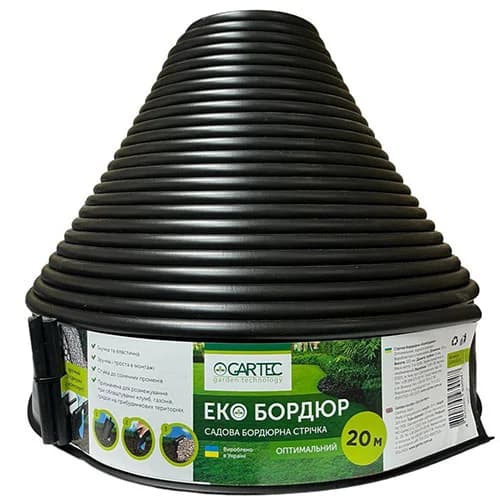
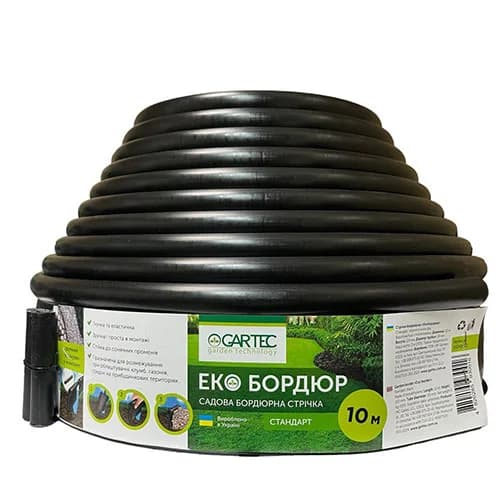
Eco Border edging strip (Econom, Standard and Optimal series) is a flexible strip 103–110 mm high with a thickened tube along the top edge. It is set in a narrow trench so that only the tube shows above the ground. The strip holds the shape of a flower bed, stops the lawn from creeping into the border and separates vegetable beds from paths.
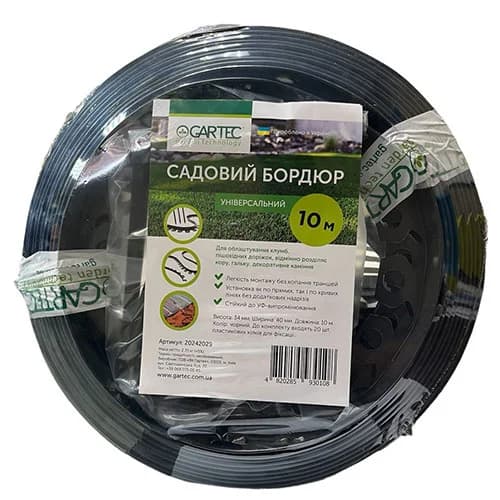
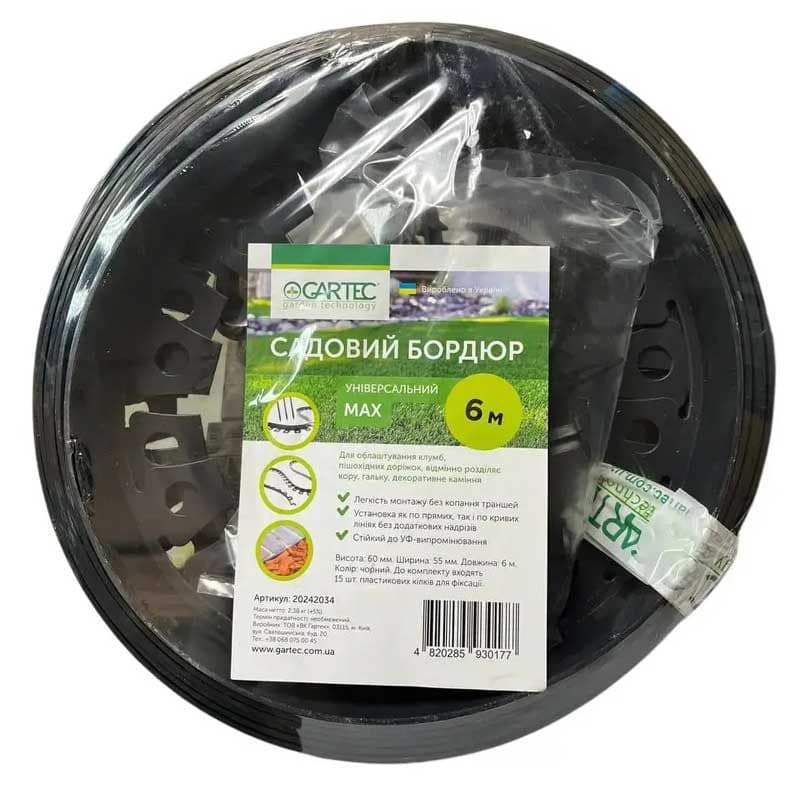
Universal edging is a low profile 34 mm high and 40 mm wide (60 mm in the MAX version) with holes for stakes. It is set flush with the ground and fixed with the stakes supplied in the pack: 20 per 10 m coil and 15 per MAX 6 m coil. This kind of edge does not get in the way of the lawn mower and holds paving, gravel or bark well.
The differences between the series are covered in more detail in our article on choosing edging and in the garden edging section.
What you will need
- edging, with some extra for joints (see the calculation below);
- a garden spade or a half-moon lawn edger;
- a garden hose, or string and pegs, for marking out;
- a tape measure;
- a sharp knife, secateurs or a hacksaw to cut off the excess;
- a rubber mallet for the Universal stakes;
- a watering can or hose to water and settle the soil after backfilling.
The job is easiest when the soil is moist and soft, in spring or autumn, but never on frozen ground. Polyethylene gets stiffer in cool weather, so unroll the coil in advance and leave it in the sun: the strip will straighten out and follow curves more easily.
How much edging you need
Measure the perimeter and add about 5% for joints and trimming:
- round flower bed: perimeter = 3.14 × diameter;
- rectangular vegetable bed: perimeter = 2 × (length + width);
- path: length × 2 if the edging runs along both sides.
For example, a flower bed 4 m in diameter needs 3.14 × 4 ≈ 12.6 m, or about 13.2 m with the allowance. That is one coil of Eco Border Optimal 20 m or two 10 m coils. A single 20 m coil goes round a circle about 6 m in diameter with no joint at all, which is why the long coil is handier for large beds.
How to install an edging strip, step by step
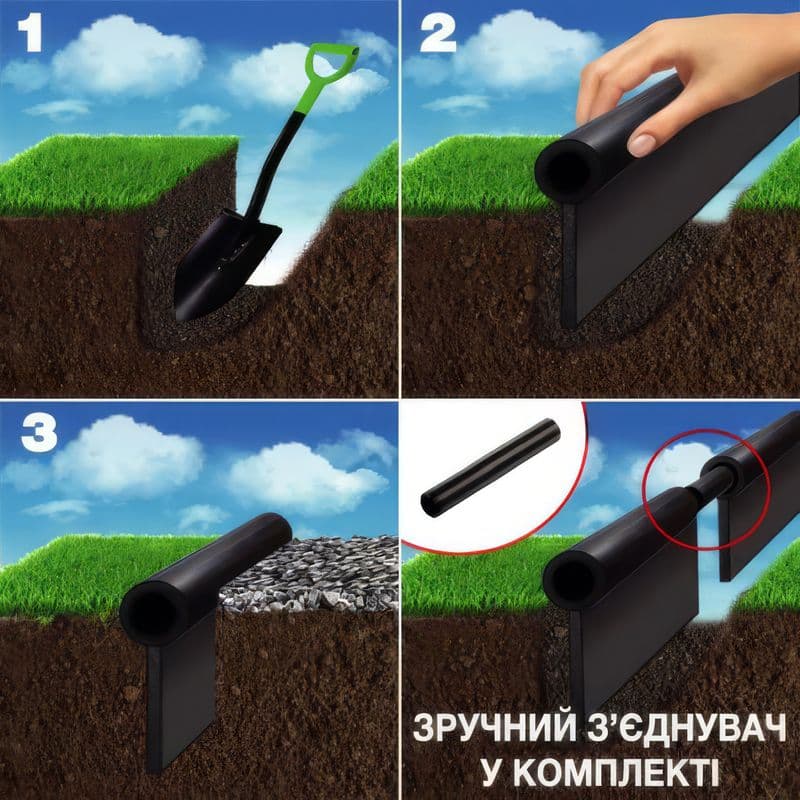
- Mark out the outline. Lay a garden hose along the line of the future bed: this makes it easy to see the shape and adjust the curves. For straight lines, stretch string between pegs.
- Dig the trench. Use a spade to cut a slot 7–9 cm deep. Keep the side facing the bed straight and vertical, as the strip will be pressed against it.
- Set the strip. Lower the edging into the trench with the tube on top. Only the tube should remain above the ground: that way the edge is barely visible and soil is not washed out from under it. At the corners of vegetable beds, simply bend the strip; separate corner pieces are not needed.
- Join the ends. Overlap the ends of the strip (usually by 10–15 cm) and press them firmly together. It is best to put the joint somewhere inconspicuous, behind a shrub or next to the fence.
- Backfill the trench. Put the soil back on both sides of the strip and tamp it down thoroughly with your foot or the spade handle. It is the compaction that holds the edging in place, so take your time.
- Water. The soil will settle after watering; top it up where needed and tamp it down again.
- Check the height. Walk along the outline: the tube should stick out evenly along the whole length, with no "waves".
If the bed borders a lawn that is cut with a strimmer, use Eco Border Standard: it has a 20 mm tube and is 110 mm high, so the edge will not get crushed.
How to install Universal edging with stakes
Universal is designed for easy installation without digging trenches. Here is how it is done:
- Mark out the line with a hose or string.
- Make a cut. Use a spade or edger to cut through the turf along the line, just deep enough for the profile to sit flush with the surface.
- Lay the edging. Unroll the coil along the marked line. The profile bends along both straight and curved lines without any extra cuts.
- Drive in the stakes. Hammer the stakes through the holes in the profile with a mallet. There are 20 stakes per 10 m in the pack, i.e. roughly one stake every 50 cm. On tight curves, place them closer together.
- Backfill and tamp the soil on both sides so the profile has no play.
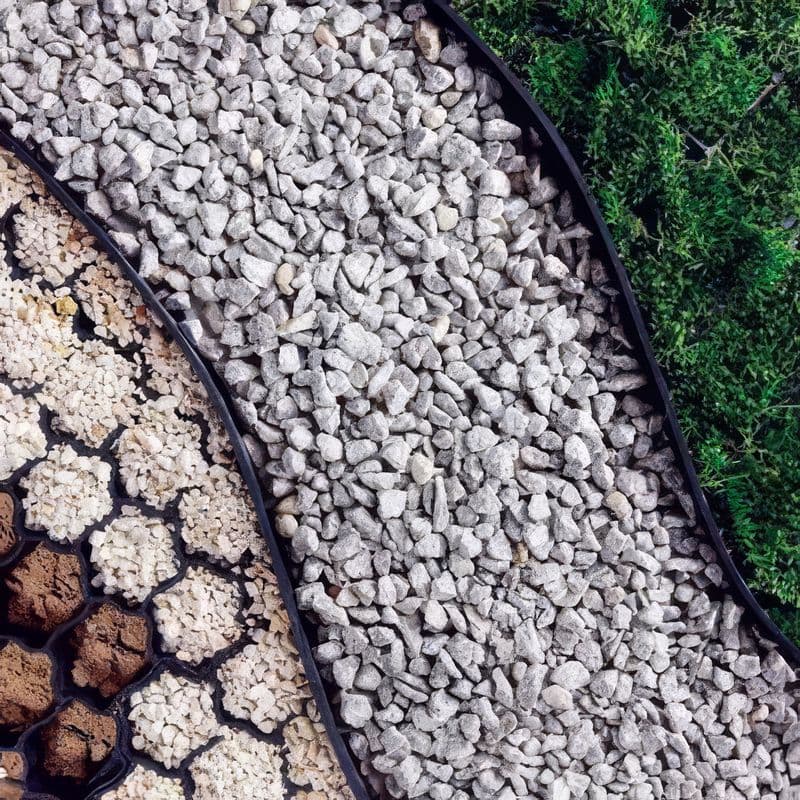
For a paved path, the edging is set tight against the outer row of paving slabs: it holds the edge and the sand base. For gravel, bark or pebbles on wider paths, the MAX 60 mm version works better, as its higher side holds loose material more securely. More examples are on the lawn and path edging page.
Common installation mistakes
- A trench that is too shallow. A strip buried only a few centimetres deep gets pushed up by frost in winter, and by spring the edge has "come out" of the ground.
- Poor compaction. Loose soil does not hold the edging, so it leans and goes wavy.
- Too much above ground. A tall edge gets caught by the mower, and the strip itself looks like a fence. Only the tube should be above the surface.
- Installing a cold strip. A coil that has not straightened out springs back and forms waves. Let it lie in the sun first.
- Joints without an overlap. Ends simply butted together drift apart over time, and grass grows through the gap.
- Too few stakes. Universal is held in place by its stakes, so do not skimp on them on curves.
Which model suits your job
| Job | What works |
|---|---|
| Flower bed with a complex shape | Eco Border Optimal 20 m or Econom 10 m |
| Vegetable beds, edge next to a lawn | Eco Border Standard 10 m (20 mm tube) |
| Lawn edge you can mow over | Universal 10 m with stakes |
| Gravel, bark or paved path | Universal MAX 6 m (60 mm) |
The Eco Border strip comes in black, brown and green; Universal comes in black and brown. Black is almost invisible, brown blends in with mulch and green blends in with the lawn. There is more about flower beds on the flower bed edging page.
Looking after the edging after installation
Plastic edging needs almost no maintenance, but a few simple steps will keep it looking neat for longer:
- For the first month after installation, check the outline after heavy rain: if the soil has settled, top it up and tamp it down.
- In spring, walk along the edge: if frost has lifted the strip anywhere, press it back down and firm the soil around it. If needed, tap the Universal stakes back in with a mallet.
- When trimming the lawn, run the strimmer along the tube rather than right up against it at an angle; that way the edge stays straight for longer.
- If you change the layout, the strip can be dug up and installed somewhere else. No concrete or mortar is used, so removing it does not damage anything.
Prices and where to buy
Current prices are in the catalogue. You can buy from a single coil, and from 10 coils the price drops automatically in the cart. Landscaping crews and shops will find it easier to work through the trade customer account with personal prices.
Products in this article
Colour: black, brown
Universal garden edging 10 m + 20 stakes
631 ₴
per coil
from 555 ₴ for 50+ pcs
FAQ
How deep should garden edging be buried?
The Eco Border edging strip is set in a trench 7–9 cm deep so that only the tube stays above the ground. Universal is installed flush with the surface and fixed with stakes.
Do I need concrete to install plastic edging?
No. The edging strip is held by compacted soil, and Universal by the stakes supplied in the pack. A spade is all you need.
How many stakes does Universal edging need?
The stakes are already included: 20 per 10 m coil and 15 per MAX 6 m coil.
How do I join the ends of an edging strip?
Overlap the ends, usually by 10–15 cm, press them firmly together and backfill with soil on both sides. It is best to put the joint somewhere inconspicuous.
Can I install edging in autumn?
Yes, as long as the ground has not frozen. The key is to tamp down and water the backfill well so the soil settles before winter.
Useful articles
All articles →
Black mulching fabric: what it is for and how to mulch vegetable beds
What black mulching fabric is used for, whether it lets water through and whether it protects against frost. How to prepare a bed, lay the fabric, pin it down with stakes and plant through it.
Read →
Dimpled membrane for foundations and perimeter paving: what it is for and how to install it
What dimpled membrane is used for, which way up to lay it on a foundation and under perimeter paving, and how to fix it without damaging the waterproofing. Step-by-step installation and common mistakes.
Read →
How to lay anti-mole mesh under a lawn: depth, installation and tips
How anti-mole mesh works, how deep to lay it and how to leave moles no way in at the joints and around the edges. A step-by-step guide for turf and seeded lawns.
Read →